Studio Photography Lab 05
Lab 05
This lab was in preparation for our upcoming lab test which was worth 20% of our final grade.
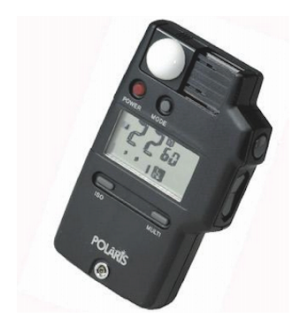
We were introduced to light metering, in particular the handheld light meter. This was a fascinating piece of equipment which took some getting use to. I found it complicated in the beginning but after some messing around with it, it became easier.
There's many settings on the handheld light meter and have seen some increasingly complex light meters. Once ran through it is understandable but at first glance it's quite intimidating and unclear.
We used the meter on three separate lights following this image as reference.
This lab was in preparation for our upcoming lab test which was worth 20% of our final grade.
We were introduced to light metering, in particular the handheld light meter. This was a fascinating piece of equipment which took some getting use to. I found it complicated in the beginning but after some messing around with it, it became easier.
We test shot some head portrait photos using different ratios. We had to adjust the studio lights to properly light our subjects. This was confusing as the lights were upside down so to increase the light you had to decrease the light a full stop. I learned to adjust a full stop I had to increase or decrease the light 10 times.
There's many settings on the handheld light meter and have seen some increasingly complex light meters. Once ran through it is understandable but at first glance it's quite intimidating and unclear.
We used the meter on three separate lights following this image as reference.
Fill light: This is where the majority of the light will hit your subject. The main light.
Key light: This light is used to balance any shadows and fill in sections unlit on the subject.
Back light: This lights the background of the image eliminating and shadows on your backdrop.


Comments
Post a Comment